Labels

Saturday 25 November 2017

Butter in my Coffee

Introduced to the world by Dave Asprey (aka Bulletproof coffee) . This has been something I incorporated into my Routines about 3 years ago, and it is how I start my day every day except Sundays (which is Bacon and Egg day!). Whilst I don't tend to use Bulletproof ingredients in my coffee now I must credit Dave with introducing me and the rest of the world to this drink I recommend you check out the Bulletproof blog and book

Why?

Grass-fed butter and coconut/MCT Oil provides a great mix of healthy fats to provide some satiety in the morning, while allowing your body to continue its overnight fast (insulin levels remain low enough to allow fat burning to continue). Additionally it is believed that butter slows the uptake of caffeine to deliver prolonged energy throughout the day. 

Not only is it a great tasting drink to kick start your day, its also an easy way to incorporate intermittent fasting into your lifestyle. With a butter coffee to start the day I find I can easily continue my overnight fast until lunchtime. Meaning that I'm effectively in a fasted state for 16-17 hours per day.

A Drink Steeped in History

Putting butter in a hot beverage is nothing new. Himalayan populations from the Sherpas in Nepal to Kashmirs in northern India have been sipping similar brews for centuries. In addition, the Gurage people of Ethiopia traditionally prepare coffee with butter, honey and salt. In Vietnam, chon coffee beans are sautéed with butter, salt and sugar, then lightly roasted. And in Singapore, it's common to sauté coffee beans with butter and spices before grinding. One of the most studied blends is traditional Tibetan butter tea, called po cha. The drink is made by churning fermented black tea with salty yak butter. With Ayurvedic origins, each butter tea ingredient serves a purpose. T


How to make it

Ingredients list is simple:
- Coffee
- Coconut Oil
- Butter
- Spices such as Turmeric, Cinnamon, Cayenne (Optional)

Aim for quality ingredients. Coffee is a personal choice so I'll leave that up to you but try for organic cold pressed coconut oil and grass fed butter, Kerrygold is great.

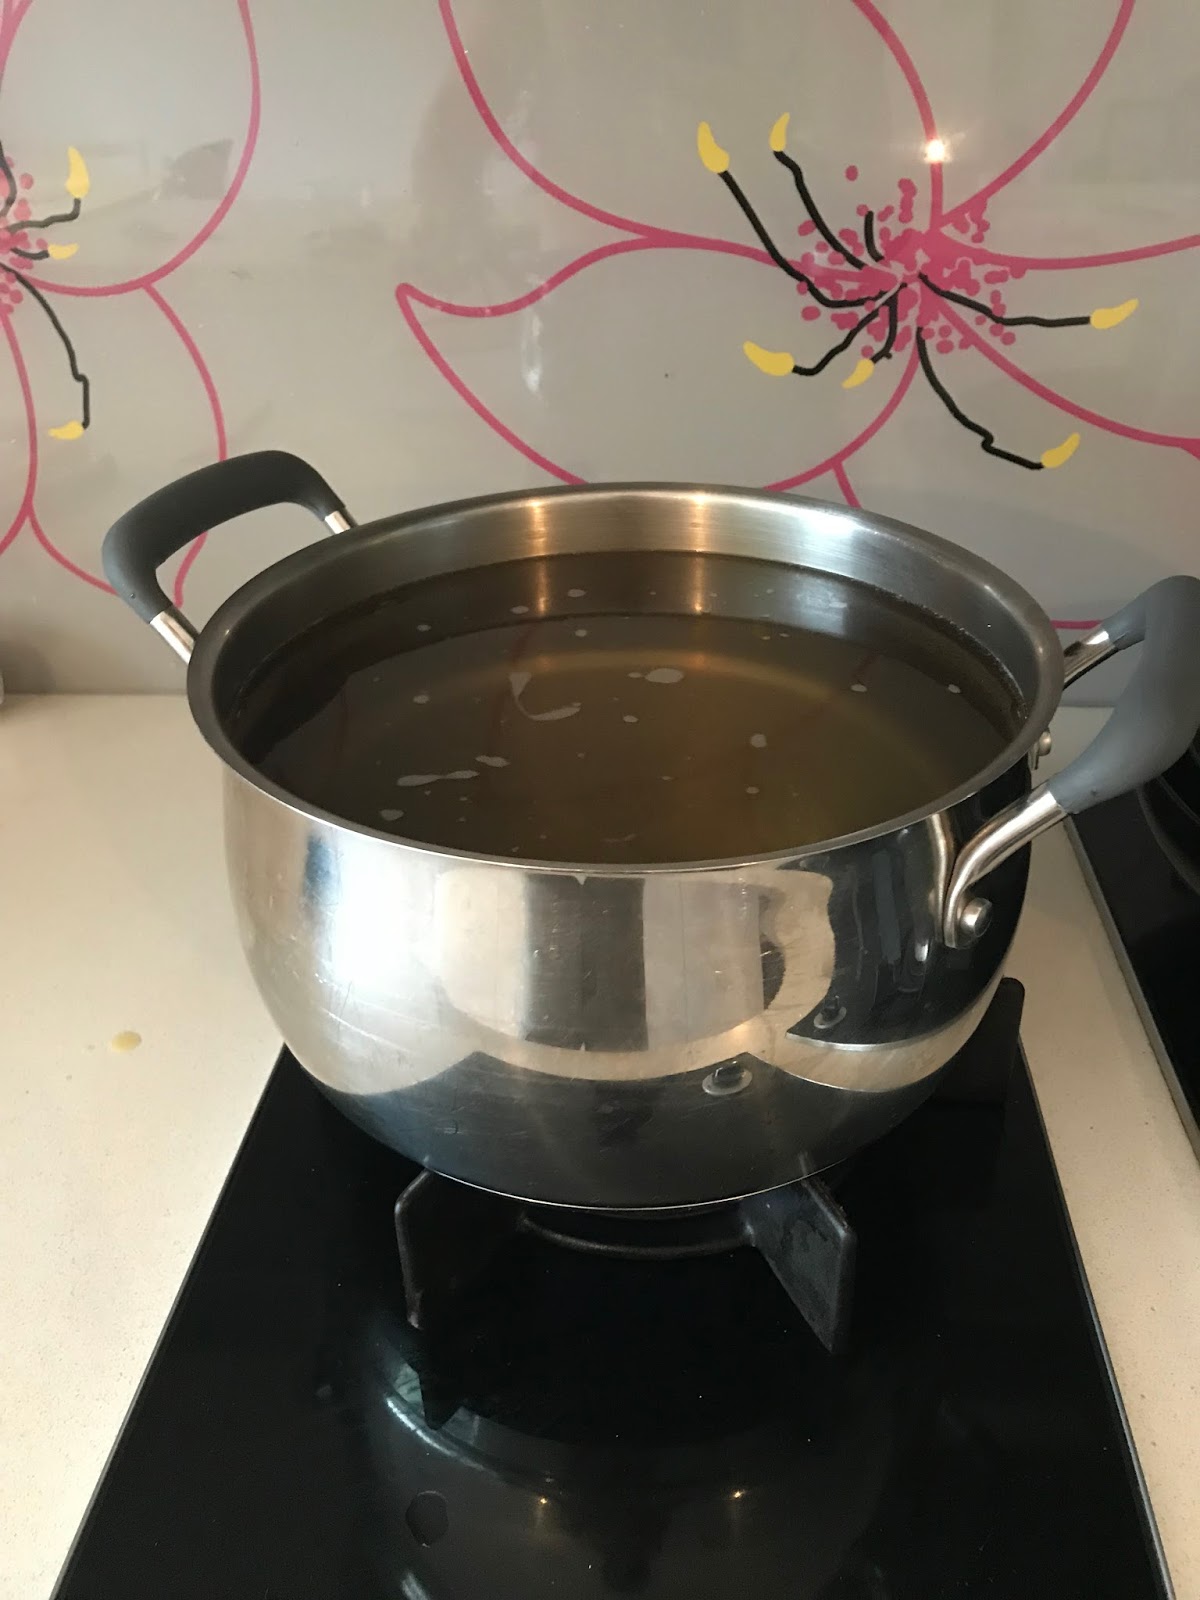
1. Brew a black coffee (long black, Americano) your usual way. I normally do a filter coffee or Expresso.

2. Add approximately 1 tablespoon of butter and 1 tablespoon of coconut oil into your handblender and throw in any spices you want to try.


3.  Add the coffee, blend it up, and that's it, a beautiful creamy coffee to start your day (and keep you going until lunch).


4. Drink it before it gets cold (its not so good then!)


Wednesday 8 November 2017

Kombucha, not just for hipsters & hippies!

Time for a post on another of my favorites. Kombucha has been a buzz word for a couple of years now, and grocery stores are continuously stocking their shelves to keep up with the trend. Even PepsiCo has jumped on the Kombucha action, purchasing the KeVita brand for $200 million last year! Personally I've been making and drinking the stuff for a few years now (before it was cool!) after first coming across it on a holiday to Florida, and its not just me, all my kids now love the stuff and see it as a real treat (much better than a coke!)


History
The origins of Kombucha are not clear but it has been around for a LONG time. It is thought to have originated in the Far East and has been consumed there for at least two thousand years. The first recorded use of Kombucha comes from China in 221 BC during the Tsin Dynasty. It was known as "The Tea of Immortality". It has also been used in Eastern Europe, Russia and Japan for several centuries. The name Kombucha is said to have come from Japan in 415 AD where a Korean physician called Kombu or Kambu treated the Emperor Inyko with the tea and it took his name, "Kombu" and "cha" meaning tea. It spread to Russia, Prussia, Poland, Germany and Denmark but it seems to have died out during World War Two. After the war Dr Rudolph Skelnar created renewed interest in Kombucha in Germany when he used it in his practice to treat cancer patients, metabolic disorders, high blood pressure and diabetes.

What is it
The Kombucha culture looks like a beige or white rubbery pancake. It's often called a SCOBY which stands for  Symbiotic Culture of Bacteria and Yeasts.The culture is placed in sweetened black or green tea and turns a bowl full of sweet tea into a bowl full of vitamins, minerals, enzymes and health-giving organic acids.


Benefits
There is not much research on the benefits of Kombucha (unlike fermented milk products) but it has certainly been shown to have similar antibiotic, antiviral and anti fungal properties in lab tests. In rats it’s been shown to protect against stress and improve liver function. There is a lot of experiential evidence from people who have been using Kombucha over many years. Many of the benefits reported include improvements in energy levels, metabolic disorders, allergies, cancer, digestive problems, candidiasis, hypertension, HIV, chronic fatigue and arthritis. It ‘s also used externally for skin problems and as a hair wash among other things.

Kombucha contains a range of organic acids like glucuronic acid, gluconic acid, lactic acid, acetic acid, butyric acid, malic acid and usnic acid; vitamins, particularly B vitamins and vitamin C; as well as amino acids, enzymes. And of course there are all the benefits of the probiotic microorganisms themselves. The sugar is used The Kombucha culture is a biochemical powerhouse 

How to make it
You'll need tea bags, sugar, filtered/mineral water (chlorine will hurt the SCOBY), large jar, and a SCOBY. Its a fairly simple ingredients list and the process is nice and simple too as explained below. As ever go fro quality ingredients, I always source organic tea and sugar for my Kombucha.


  1. Measure out the correct amount of water for your jar (for simplicities sake keep it to the nearest litre).
  2. Bring the water to the boil, whilst its heating up add the sugar, 60ml (4 tbls spoons) for every litre of water and stir to make sure its all dissolved.
  3. Take the water of the heat and add the teabags, 2 for every litre of water. Let them steep for 15-30mins.
  4. Take the teabags out and allow the sugary teas to cool to body temp. You can stand it in cold water to speed this process up.
  5. Pour the sugary tea into your jar and add your SCOBY, dont worry if it floats, sinks or swims around (joking dont panic!). 
  6. Cover the jar with a breathable lid (cloth or similar) and put it in a warm dark place.
  7. The fermentation time will vary depending on the ambient temperature (quicker when its warm). I suggest you taste it after a couple of weeks, if its too sugary, leave it a few days and try again.
  8. When its to your taste its time to bottle it and put it in the fridge to stop further fermentation. Use clean bottles (grolsch style bottles are good as they will vent excess pressure). At this stage you can add any flavour you want to try as well. Just remember if you add sugary fruit as a flavour you may get a second ferment and a 'lively' brew!
  9. You'll have removed the SCOBY to botle it and probably noticed you have now have two SCOBYs, magic hey! Just peel them apart and you can keep one in a jar with a bit of old ombucha as a spare and use the other for your next batch. You'll soon have a collection of SCOBYs in your 'SCOBY hotel' so can start handing them out to friends and family.
But what about the Sugar?
Kombucha is the ONLY reaosn we keep any sugar in our household. When you make your first batch you'll be shocked at how much sugar goes into the mix but dont panic, the sugar in Kombucha is for the culture to consume, not for you. When done fermenting, there will be about 2-6 grams per glass of unflavored Kombucha. By contrast natural carrot juices have 13g per glass. If fermented longer, say for 3 weeks or longer, sugar levels in Kombucha will likely be even lower.


Thursday 2 November 2017

Bone Broth

So bone broth has been a favorite of mine for a couple of years now. I think that I first read about bone broth and its many benefits in Dr Cates excellent book Deep Nutrition, and Dr Cate explains in far more detail the science behind the benefits of bone broth. Suffice to say that bones contain an abundance of minerals that most of us would benefit from more of, such as such as Calcium, Magnesium, Potassium, Phosphorus, Zinc, and amino acids such as Collagen, Gelatine, Glycosaminoglycans, Glycine, Proline, Glutamine. The reported benefits of consuming bone broth include improved skin elasticity, bone and joint health, gut health and brain health. It makes sense that to grow and repair your body you need to consume enough of the building blocks that are required, and bones seem to be a great source of many.

The thing that initially appealed to me was the undeniable heritage of bone broth. I'm convinced that we as a species have been consuming bone broth as long as we have been cooking meat. Ancient man would have wanted to extract all nutrients from the animal we know he would have been eating, and boiling the bones is a simple effective method of doing this. It is widely accepted that bone broth has been an integral part of many if not all traditional societies and cultures, for me bone broth is about as Paleo as you can get!

I was fairly easily convinced as to the benefits of incorporating bone broth into my diet so it was time to give it a try, and that's when I was completely hooked, not only did it taste good it was so simple to make!

Bone broth has become relatively trendy these days so its now possible to purchase good quality broth in the shops. However I would encourage you to have a go at making your own. There are many recipes out there on the internet for producing your own bone broth and I will detail the process that I use below. Have a read and then have a go, just get yourself a slow cooker and you cant really go wrong with this one!

1. Get some bones, like the rest of your food quality is important and as any toxins that an animal is exposed to are often secreted in the fat stores and bone marrow try and get yourself some grass fed organic bones if you can. Big chunky bones are best for this but you can use anything, in-fact chicken carcasses are great to throw in as well.


2. Pre-roast your bones on 180 deg C for about 30mins. This stage isn't essential but I find it adds to the flavour of the finished product.


3. Chuck your roasted bones in the slow cooker, cover with water, add some seasoning (optional) and simmer away on a low setting for 24 - 48 hrs. 48 is probably best but if you just cant wait I understand. The time will depend on the size of the bones as well (bigger bones you'll want to leave in longer to extract all the goodness).

4. Whilst its cooking give it an occasional stir and try and break the bones up a bit to help get all that goodness out.

5. Turn off and allow to cool for 15 mins or so.

6. Strain into a suitable container and there you have it, bone broth!


7. This can be cooled and kept in the fridge for a few days, or frozen to keep longer. You can freeze as ice cubes for easier use later.

\

So there you have it, Bone Broth, you can either use the broth in your cooking or have it as a warm beverage, just heat it up in a mug and that's it. I tend to have a mug of bone broth most days.